
Hi all
I am back with my first tutorial for Scrapmixers. I am going to show you how to create a layered steampunk card.

I used a selection of Leli-bot Steampunk papers and the butterfly stamp by Gecko Galz

First cover the card with patterned paper and then cut a strip off another sheet. Use a boarder punch to create a lacy edge.

Cut out a square using nesting dies and adhere to card.

Colour your stamp in with marker pens and adhere to centre of square

I used the First Edition Haberdashery Die Set and cut out the scissors using the gold gilded paper from the Botanical notes paper pad. I stuck this into the centre of the butterfly.

Next i die-cut some small cogs and adhered them to the butterfly wings and around the card.

Add a sentiment
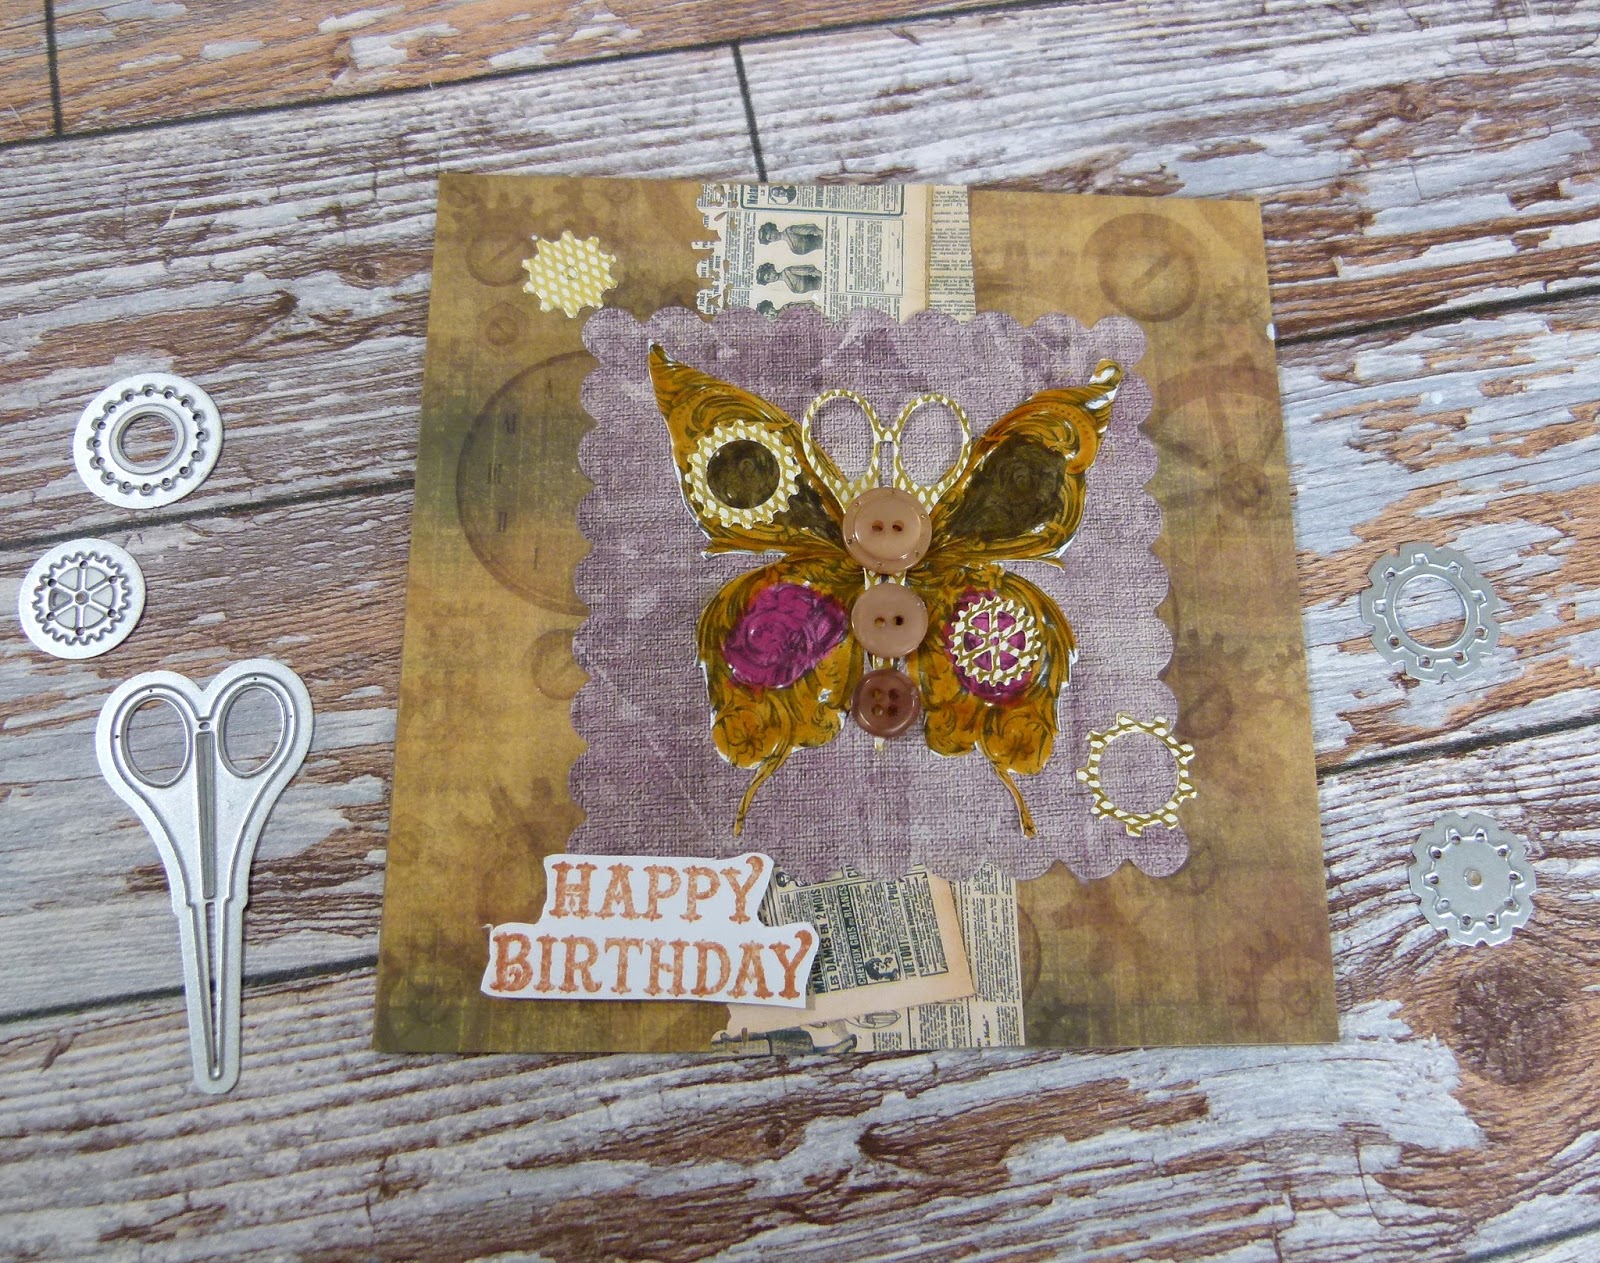
Finish off the card by adding a few small buttons down the center of the butterfly. I lined them up by size so they formed the body of the butterfly.

Here is the final card.

Here are a few close ups of the topper so you can see how i put it together.

Thank you for visiting
Katie x
1 comment:
Fabulous tutorial Katie and a very clever design. Wishing you all the best for 2016. Cathy x
Post a Comment